How to Position Yourself for a Potential Base Airdrop (2025 Guide)
What’s the Base Airdrop and Why It Matters
Base is Coinbase’s Layer 2 blockchain built on the Optimism stack, designed to bring the next billion users on-chain. Because it’s backed by one of the largest crypto exchanges and tightly integrated with the Coinbase ecosystem, the possibility of an official Base airdrop has become one of the most anticipated in the crypto space.
While there’s no confirmed airdrop yet, Base has already hinted at rewarding early adopters, creators, and builders who help grow the network. That means your on-chain activity today could pay off later if Base or related ecosystem projects choose to reward contributors.
👉 New to Base? You can Sign up on Coinbase to bridge easily and earn unique Base ecosystem badges along the way.
🧭 How to Potentially Qualify for the Base Airdrop
1️⃣ Trade on Base
Use Base-native DeFi protocols to show consistent activity.
Start with Avantis Finance — a trading platform built on Base.
- Swap, provide liquidity, or use any available trading features.
- Interacting with multiple dApps can increase your eligibility if Base tracks ecosystem engagement.
2️⃣ Build on Base
If you’re a developer, deploying even a small contract on Base is a strong signal of contribution.
- Use tools like Remix or Thirdweb to deploy a smart contract.
- Participate in Base hackathons or open-source projects.
- Join the Base Builder community to connect with other developers.
3️⃣ Create on Base (NFTs & Art)
Artists, designers, and NFT collectors can contribute by minting or collecting NFTs built on Base.
- Try minting your first NFT through Zora, which supports Base.
- Engage with Base-based NFT creators — mint, collect, or list your work.
This kind of creative on-chain activity demonstrates ecosystem growth beyond DeFi.
4️⃣ Claim Your Base Name
Secure your Base identity with a Base Name Service (BNS) domain.
- Go to Base Name Service and register your
.basename. - Complete any available quests or tasks linked to your name.
These often become criteria in ecosystem reward programs.
Owning a .base name and completing the associated quests can serve as proof of engagement — and may be included in future reward criteria.
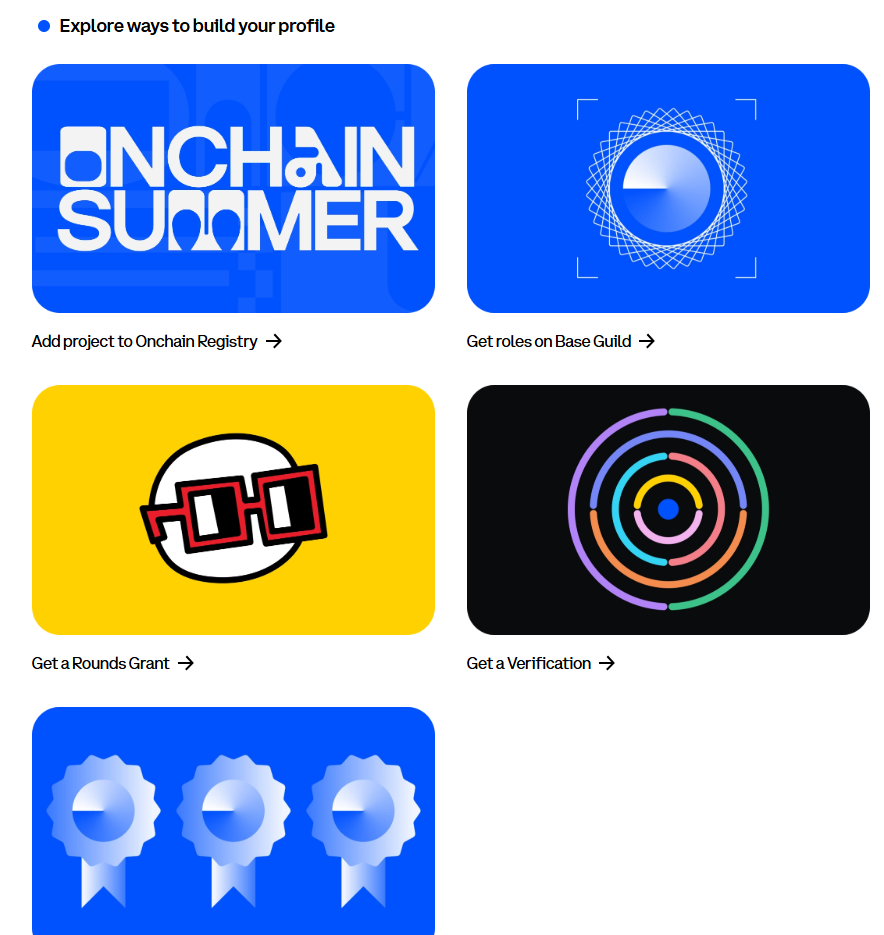
From there, you can build your profile and check your score. You can also get verified if you have a Coinbase account.
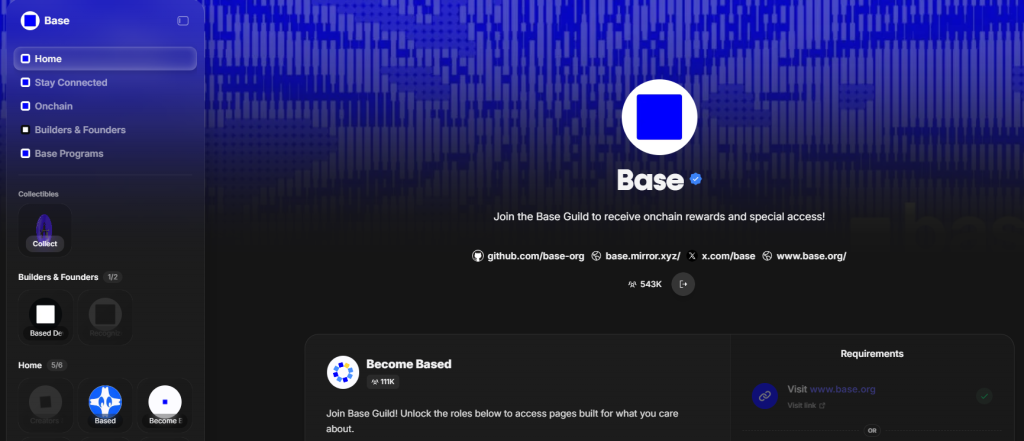
5️⃣ Join the Base Guild
Join the official Base Guild to access community roles and missions.
- Connect your wallet and complete tasks (joining Discord, following Base on X, small on-chain actions, etc.).
- Earning guild roles shows consistent engagement with the community.
Guild participation has historically been used to identify early supporters in other ecosystems.
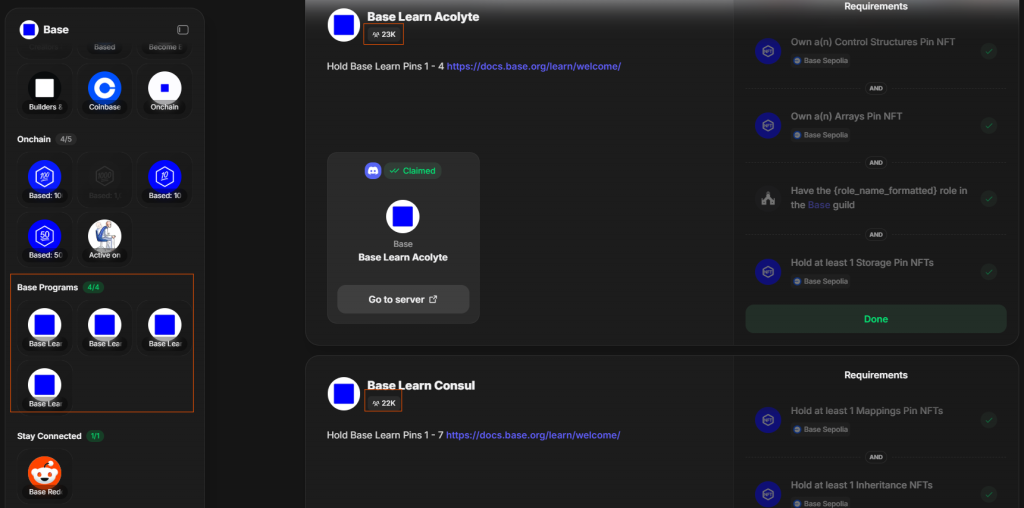
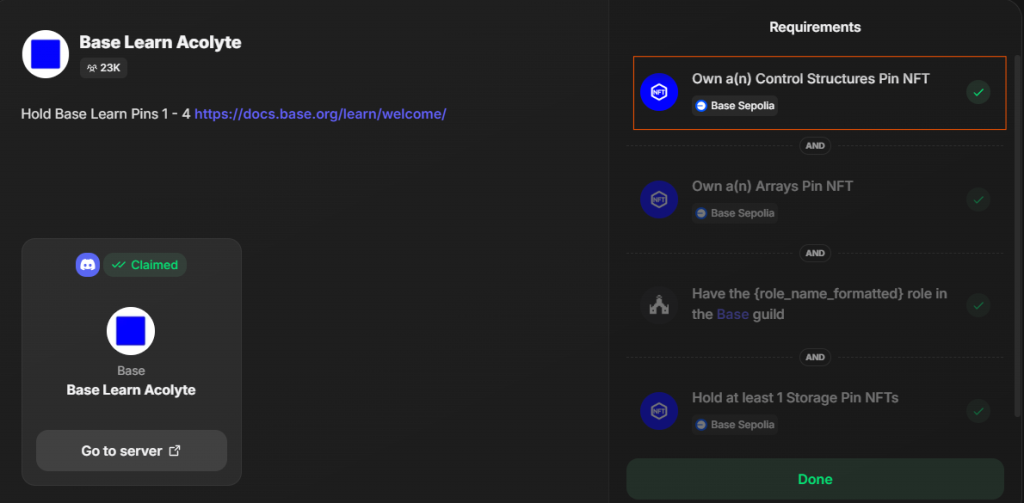
6️⃣ Collect Builder NFTs
Base has released several Builder NFTs that help identify early contributors. Owning these NFTs could set you apart from other users. The tasks to claim them are listed under “Base Programs”, and far fewer people have completed these compared with other onboarding tasks — so they may be especially valuable to pursue. Below is a step-by-step tutorial on how to claim them.
🧱 How to Claim Your Base Builder NFTs (Testnet Tutorial)
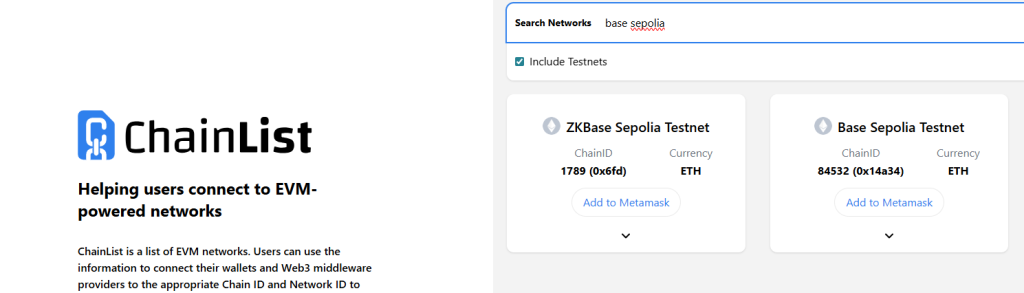
🔹 1. Set Up the Base Sepolia Network
Add the Base Sepolia network to your favorite supported wallet.
You can easily add it to metamask through Chainlist.org.
If you prefer, you can also create a Base universal wallet — here’s how:
- Go to Base Account.
- Click Sign In.
- Create an account (you can save your passkey on your phone).
- Once created, back it up by visiting keys.coinbase.com/settings and generating a recovery key.
- Link both your main wallet and your Base universal account wallet to Guild for seamless progress tracking.
1.Go to Base Account.
2. Click Sign In.
3. Create an account (you can save your passkey on your phone).

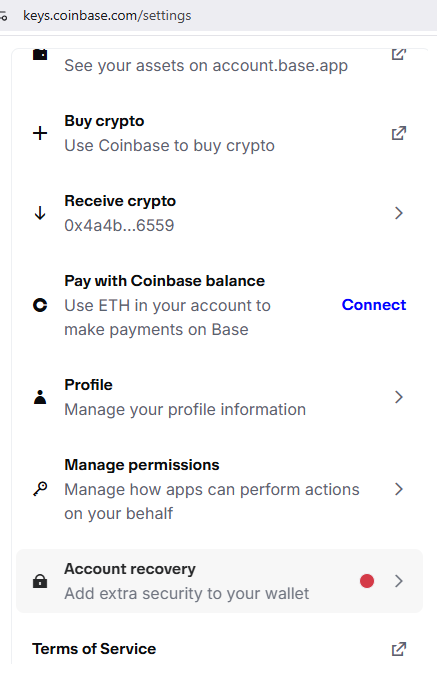
4. Once created, back it up by visiting keys.coinbase.com/settings and generating a recovery key.
5. Link both your main wallet and your Base universal account wallet to Guild for seamless progress tracking.

🔹 2. Get ETH on the Testnet
You’ll need a small amount of testnet ETH to deploy your contract.
Visit the Base Faucet page — it offers multiple ways to claim ETH.
If you’re using the Base universal account, your gas fees are often sponsored by Coinbase.
If you have a Coinbase account, you can log in and use their developer faucet.
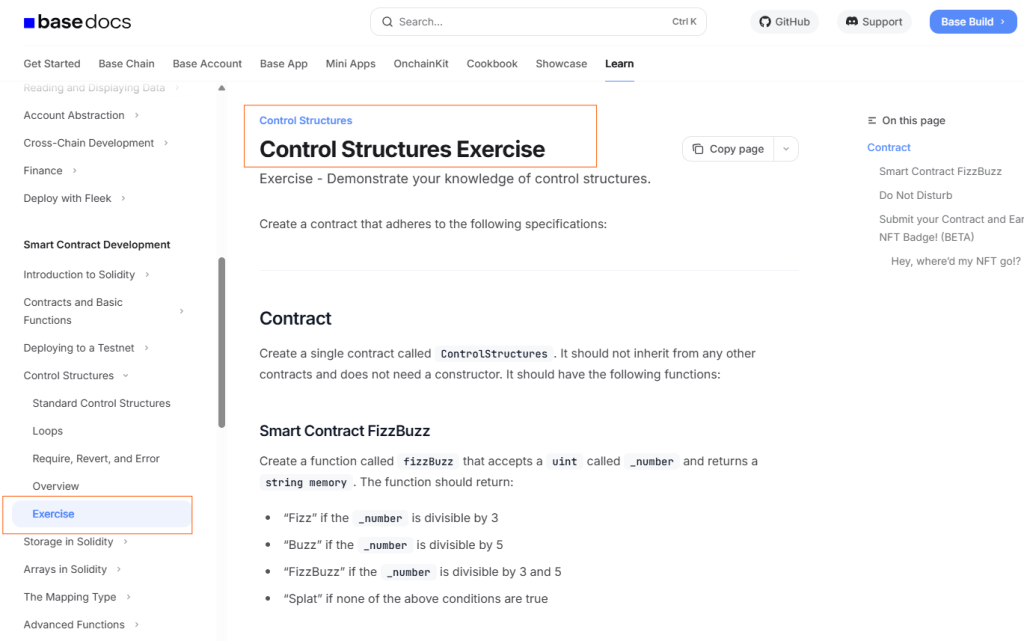
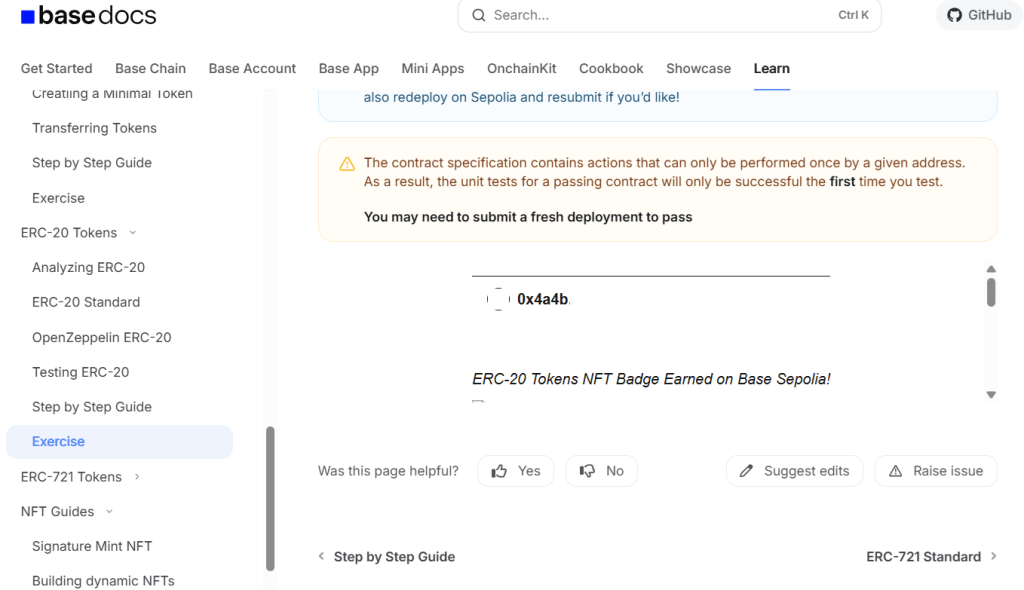
🔹 3. Locate the Builder Exercises
Head to the Base Learn portal.
Each Builder task corresponds to an “Exercise” section within the learning module.
Find the exercise that matches the task you’re working on — it’s typically under the Exercise tab of that module as seen below.
🔹 4. Write Your Solidity Code
Now, solve the exercise by writing the Solidity contract.
Modern tools like AI can help accelerate your learning curve, but make sure you understand each line.
⚠️ Important: Never deploy test contracts from a wallet that holds real assets — always use a fresh or test wallet.
We will provide you with the code for the “Control Structures” exercise.
// SPDX-License-Identifier: MIT
pragma solidity ^0.8.0;
contract ControlStructures {
function fizzBuzz(uint _number) public pure returns (string memory) {
if (_number % 3 == 0 && _number % 5 == 0) return "FizzBuzz";
if (_number % 3 == 0) return "Fizz";
if (_number % 5 == 0) return "Buzz";
return "Splat";
}
error AfterHours(uint time);
function doNotDisturb(uint _time) public pure returns (string memory) {
assert(_time < 2400);
if (_time > 2200 || _time < 800) {
revert AfterHours(_time);
}
if (_time >= 1200 && _time <= 1259) {
revert("At lunch!");
}
if (_time >= 800 && _time <= 1199) return "Morning!";
if (_time >= 1300 && _time <= 1799) return "Afternoon!";
if (_time >= 1800 && _time <= 2200) return "Evening!";
return "";
}
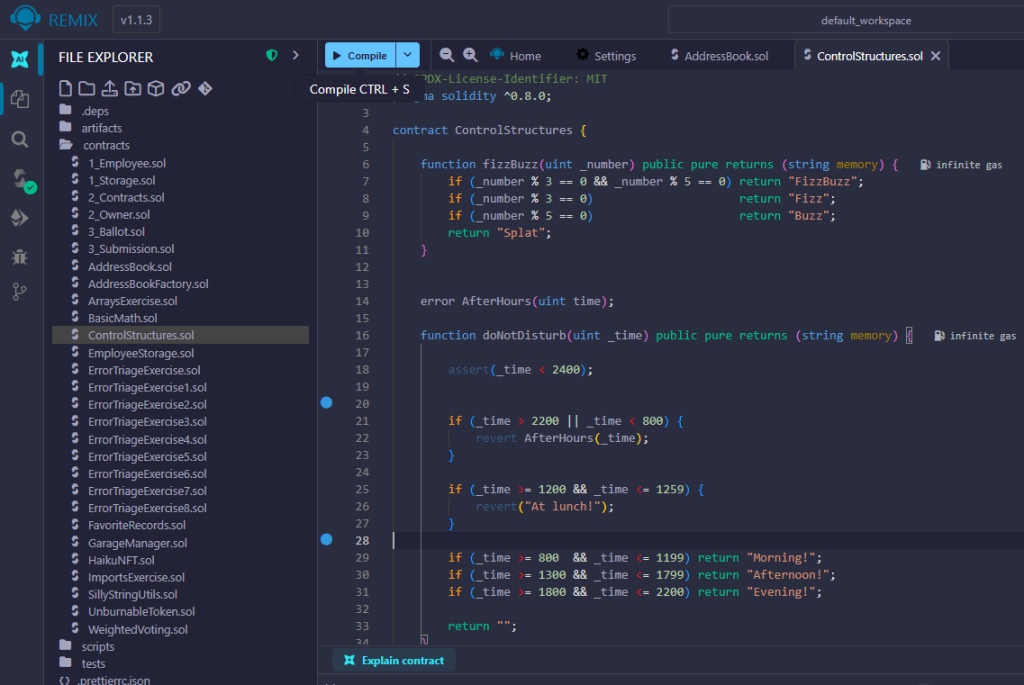
}🔹 5. Compile Your Code in Remix
Go to Remix IDE.
Under the contracts folder, create a new file — for example, ControlStructures.sol.
Paste your Solidity code, and make sure it compiles without errors.
🔹 6. Deploy to Base Sepolia
Open Remix’s Deploy & Run tab.
Connect your MetaMask or Base universal wallet to Remix.
Select the Base Sepolia network, and deploy your contract.
👉 You can find more deployment guidance on Remix’s Base documentation page.

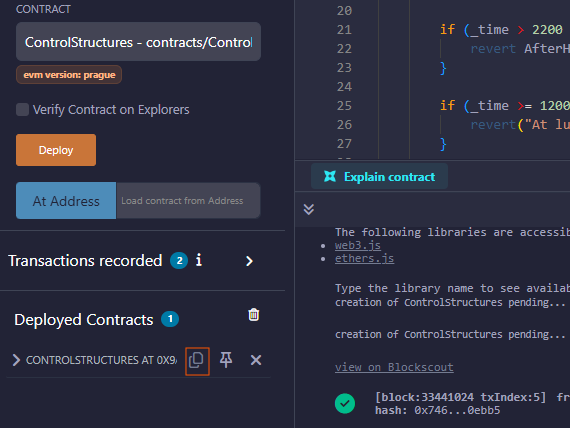
🔹 7. Find Your Contract Address
Once deployment is complete, scroll down to the Deployed Contracts section.
Copy your contract address — you can then view it directly on BaseScan Sepolia.
🔹 8. Verify and Publish (Optional)
Optionally, you can verify and publish your contract on BaseScan.
Not all exercises require verification, but doing so helps confirm your work publicly on-chain.
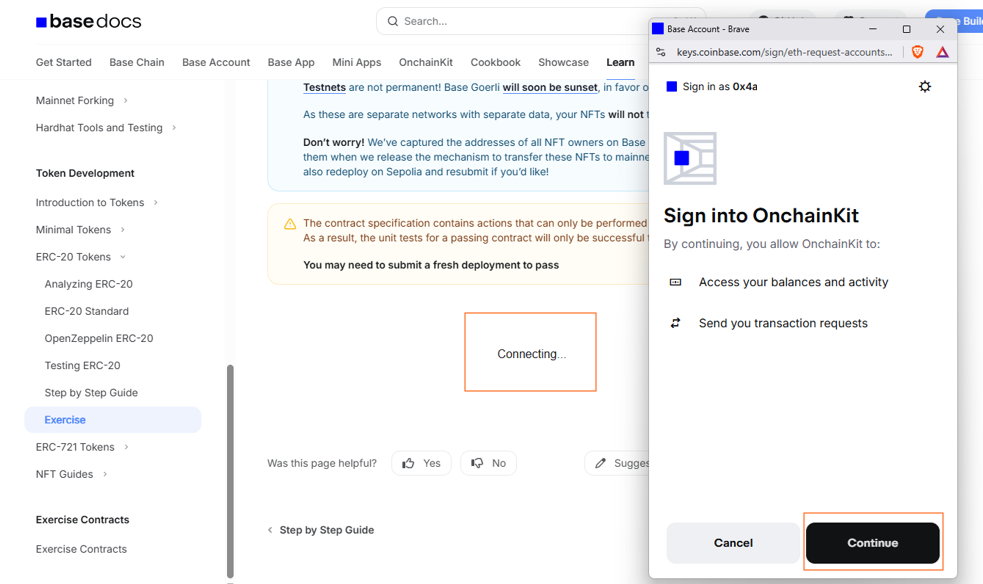
🔹 9. Submit and Claim Your Builder NFT
Go back to the corresponding Exercise page on Base Learn.
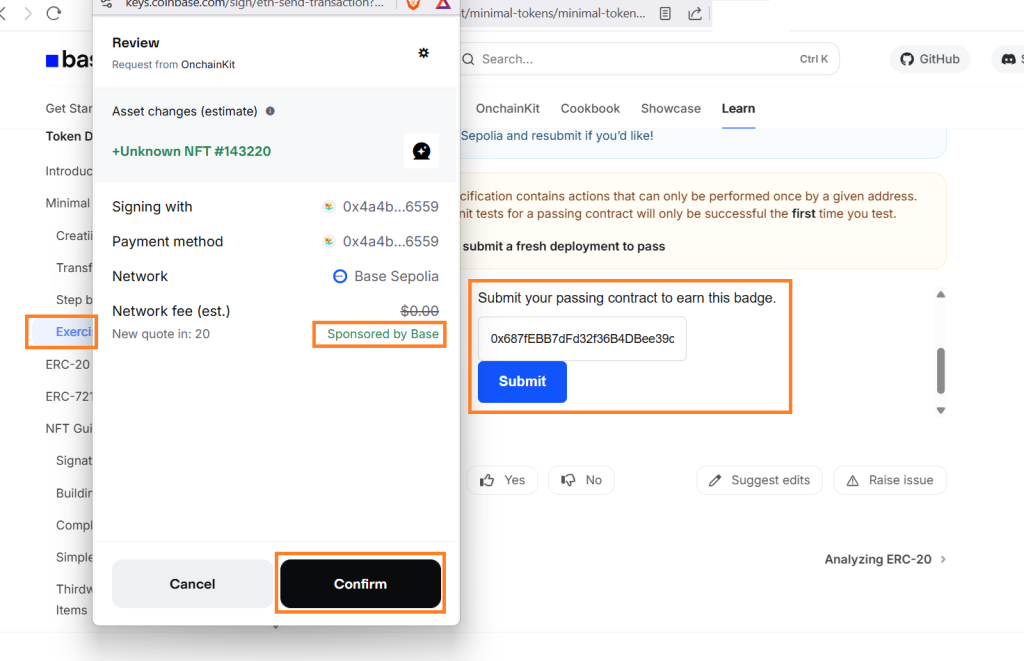
Scroll to the bottom, connect your Base wallet, and submit your contract address.
Once validated, your Builder NFT will be automatically minted to your wallet.
🔹 10. Keep Building and Level Up
Repeat the same process for all exercises to collect more Builder NFTs.
When you complete a full set, claim your Builder role on Base Guild.
Each completed mission strengthens your on-chain presence — and could make a difference if Base ever rewards early contributors.
🧩 Final Thoughts
There’s no guaranteed Base airdrop — but early users, builders, and creators are always the most likely to be rewarded in any growing blockchain ecosystem.
By trading, building, creating, and joining Base’s community today, you’ll position yourself for any future rewards from Base or its ecosystem partners.
Start today:
👉 Sign up on Coinbase
👉 Explore Base Ecosystem